


Remote Access VPN - Windows Client - ikev1
Problem
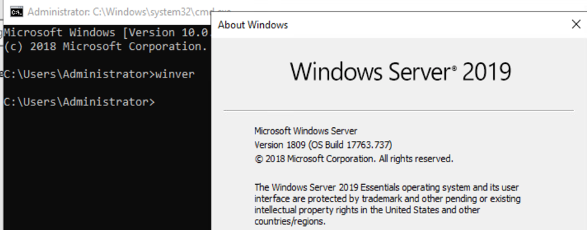
Setup Remote Access VPN Connection on Windows 2019 Client
Prerequisites:
- VPC is already configured and Source NAT is present
Steps:
- Enable Remote Access VPN
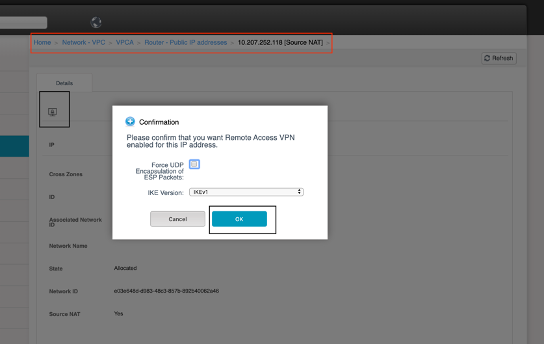
- Wait for IPSec pre-shared Key and Save it.

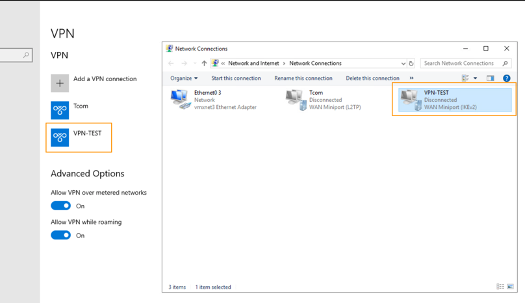
- Login to Windows Box and Navigate to VPN Connection.

- Setup with require details

- Verify created VPN Connection
- Once the above Connection is visible then click on Properties and Configure as below,

- Click on Advanced settings as shown above image (green box) and Fill it with the pre-shared key which was obtained in Step 2.

- Now Connection is created

- Enable / Connect the newly created VPN connection

- Check VMs which are available in this VPC

- Let's ping and verify the connection

- In case you wish to disable “Use default gateway on remote network” for preventing the Windows remote desktop from getting disconnected please follow the below steps.
Choose the VPC network adapter, right-click, and goto properties.
Select the ‘Networking’ tab and perform the below steps on both IPV4 and IPV6.
IPV4 > Properties

Then goto the “Advanced” tab

Uncheck “Use default gateway on remote network”.

- If you disable “Use default gateway on remote network” then you may need to add a static route to the VPN network.
Find the IP address of the VPN tunnel interface.

Find the interface number of the VPN by running “route print” from the command prompt and use this for the IF argument in the “route” command below.

Add a static route for the IP range concerned using “route add” (with -p to make it permanent):
Eg: route add 10.1.0.0 mask 255.255.255.0 10.1.2.2 IF 25 -p
Where “10.1.0.0” is the IP range which you need to route through the interface and “mask 255.255.255.0” is the subnet mask of that IP range.
“10.1.2.2” is the VPN network tunnel adapter IP and “IF 25” is its interface number in the routing table.
Document ID:
360039318871
Product:
RoviusCP
Version:
4.11.0
Operating System:
Windows
Zendesk Ticket ID:
71145
Comments